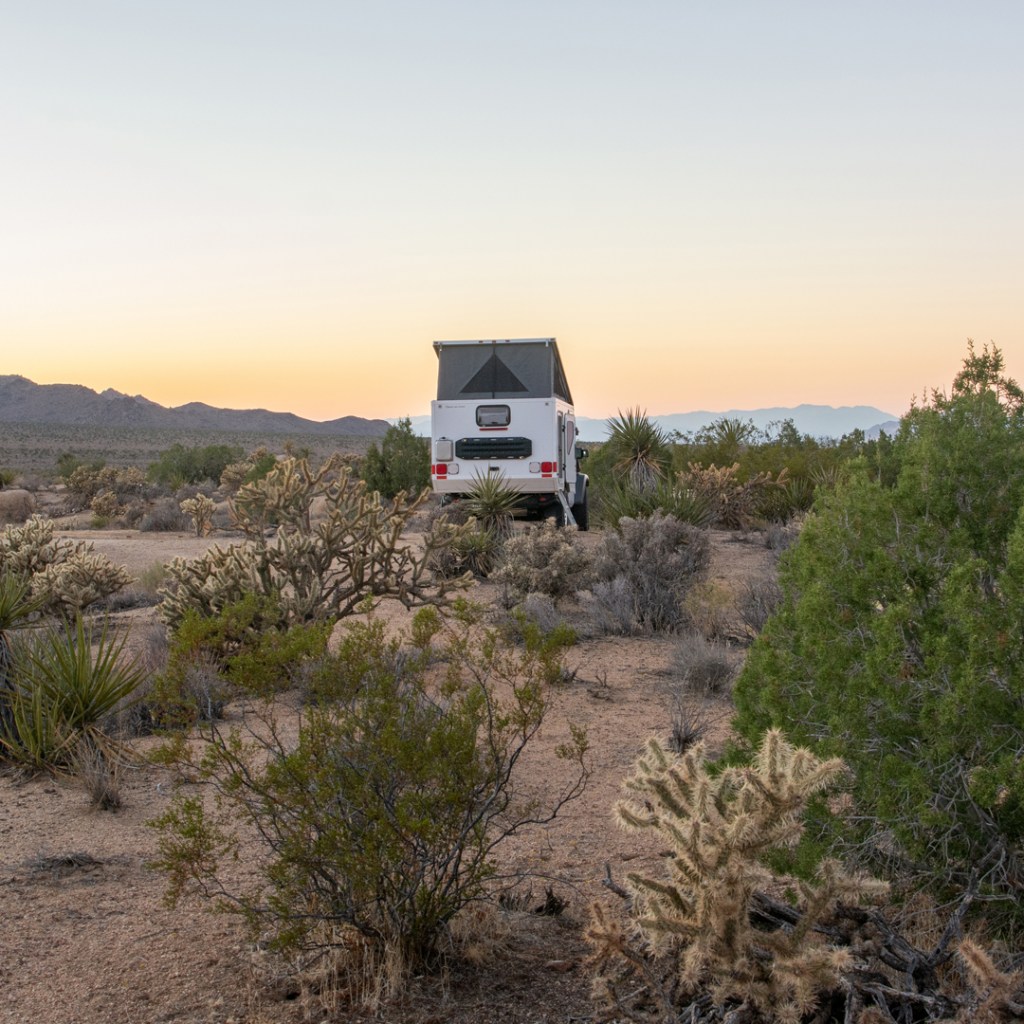
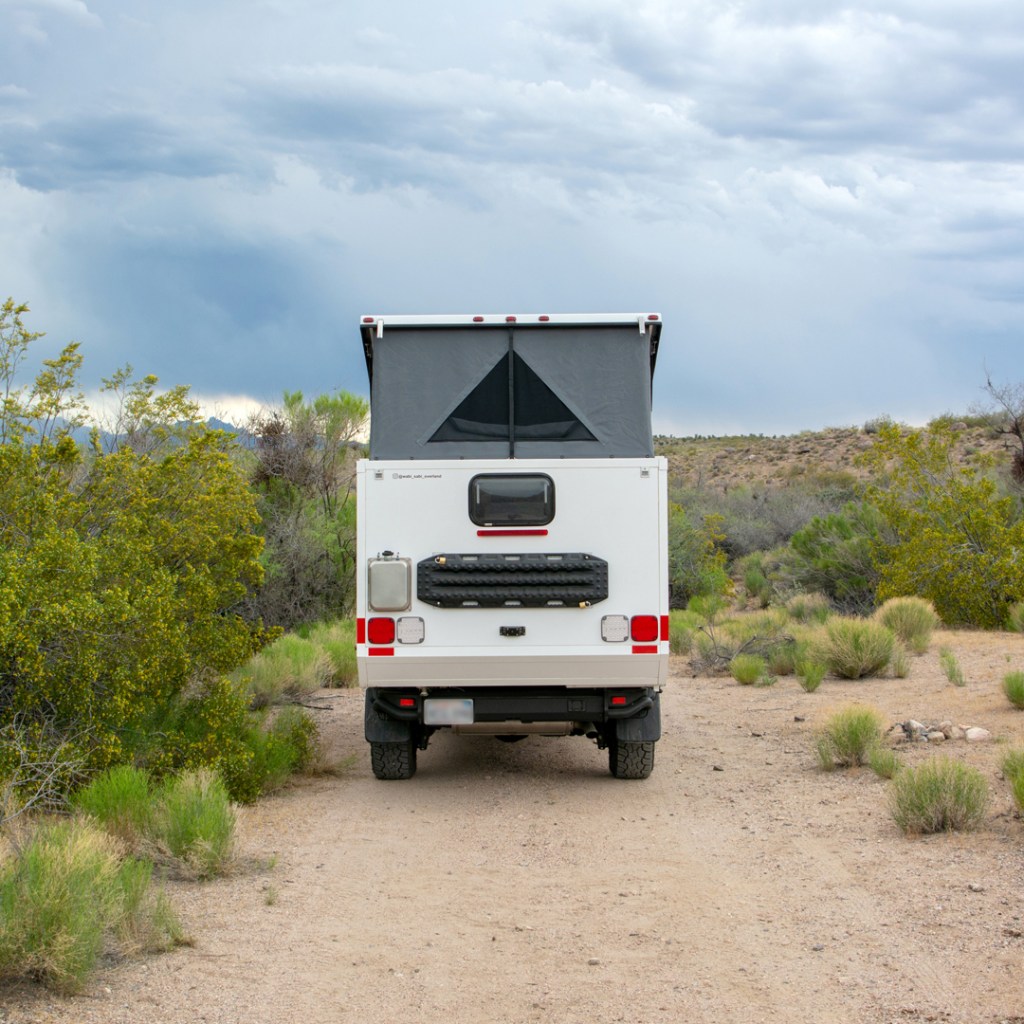
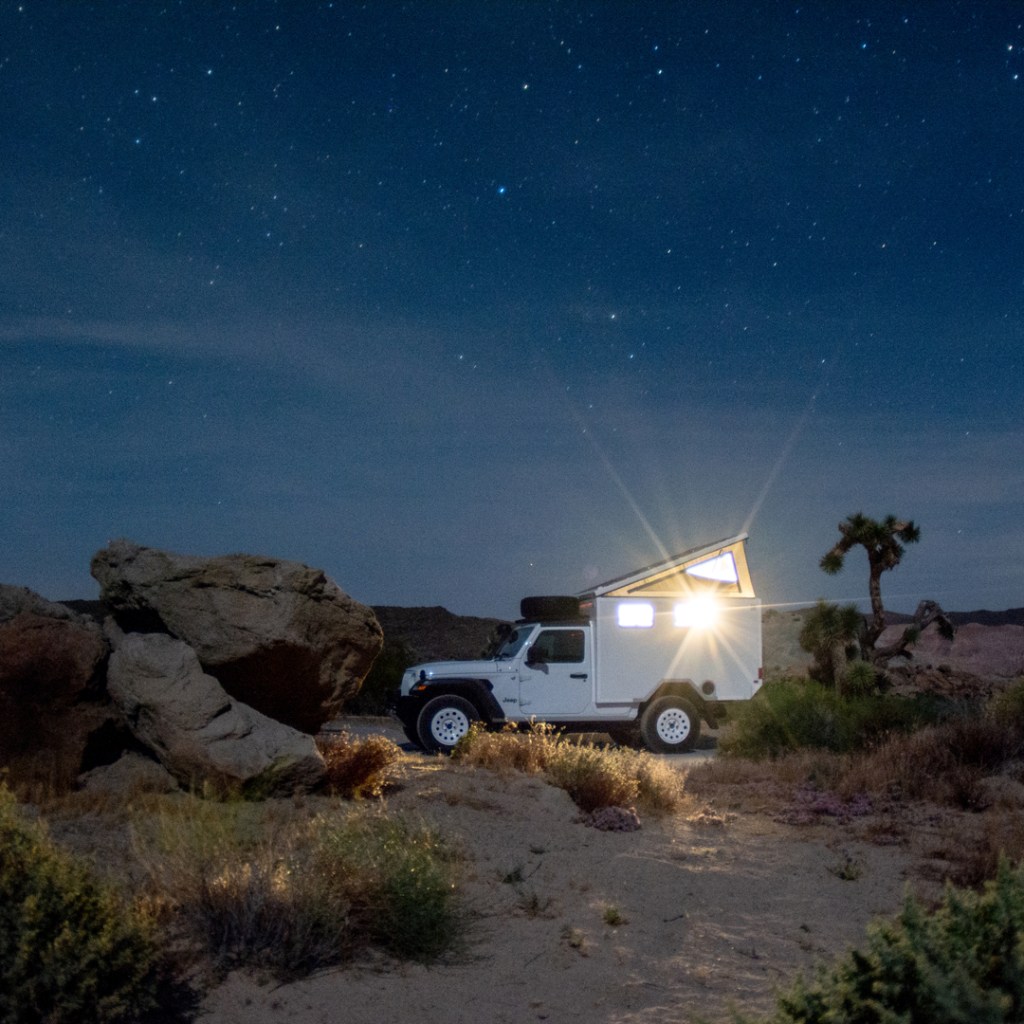
We just got back from a few quiet nights in Arizona and eastern California. We were happy to catch a bit of fall color in Arizona before the cooler weather really kicks in. It’s starting to be desert camping season for sure. The temps were perfect in the Mojave.
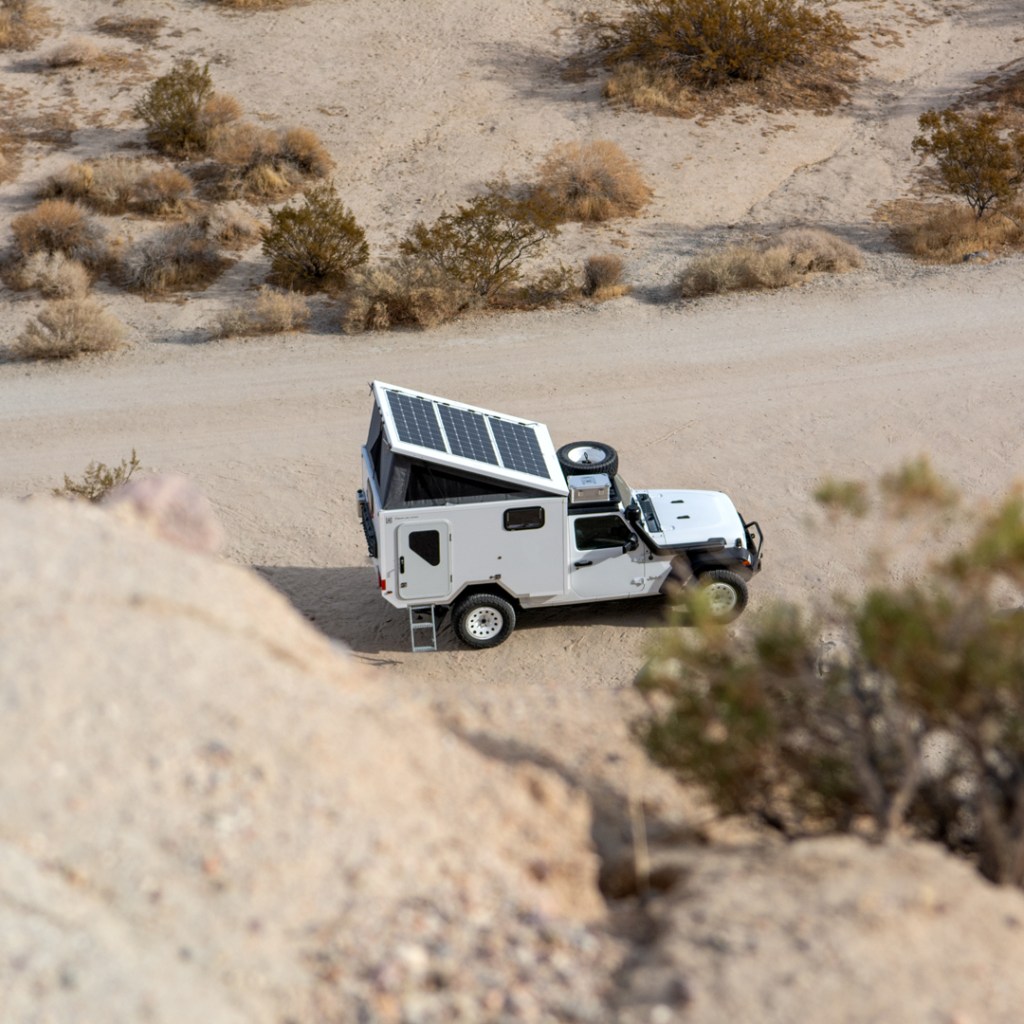
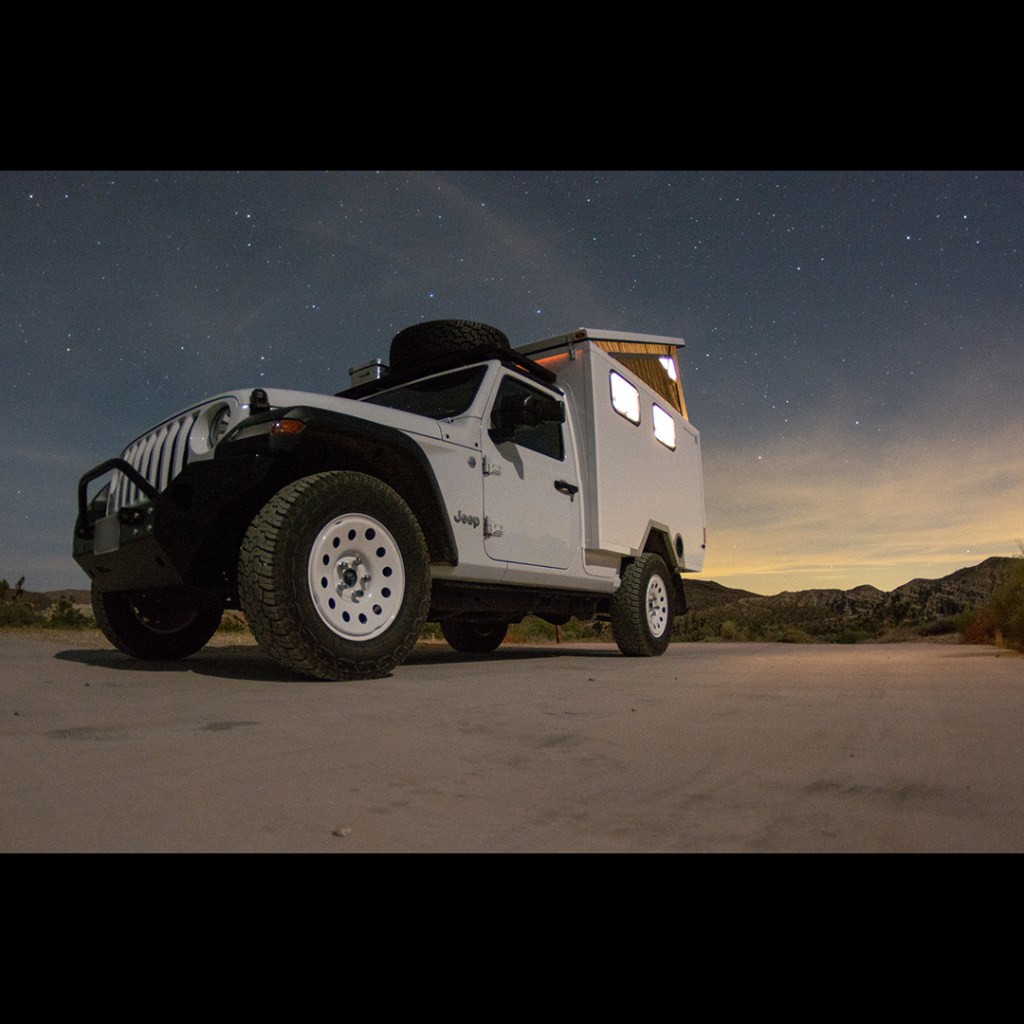
I was just looking through my files, and I started the detailed design of this camper in November of 2021. It’s crazy how fast the last four years have gone by building and traveling in this camper.
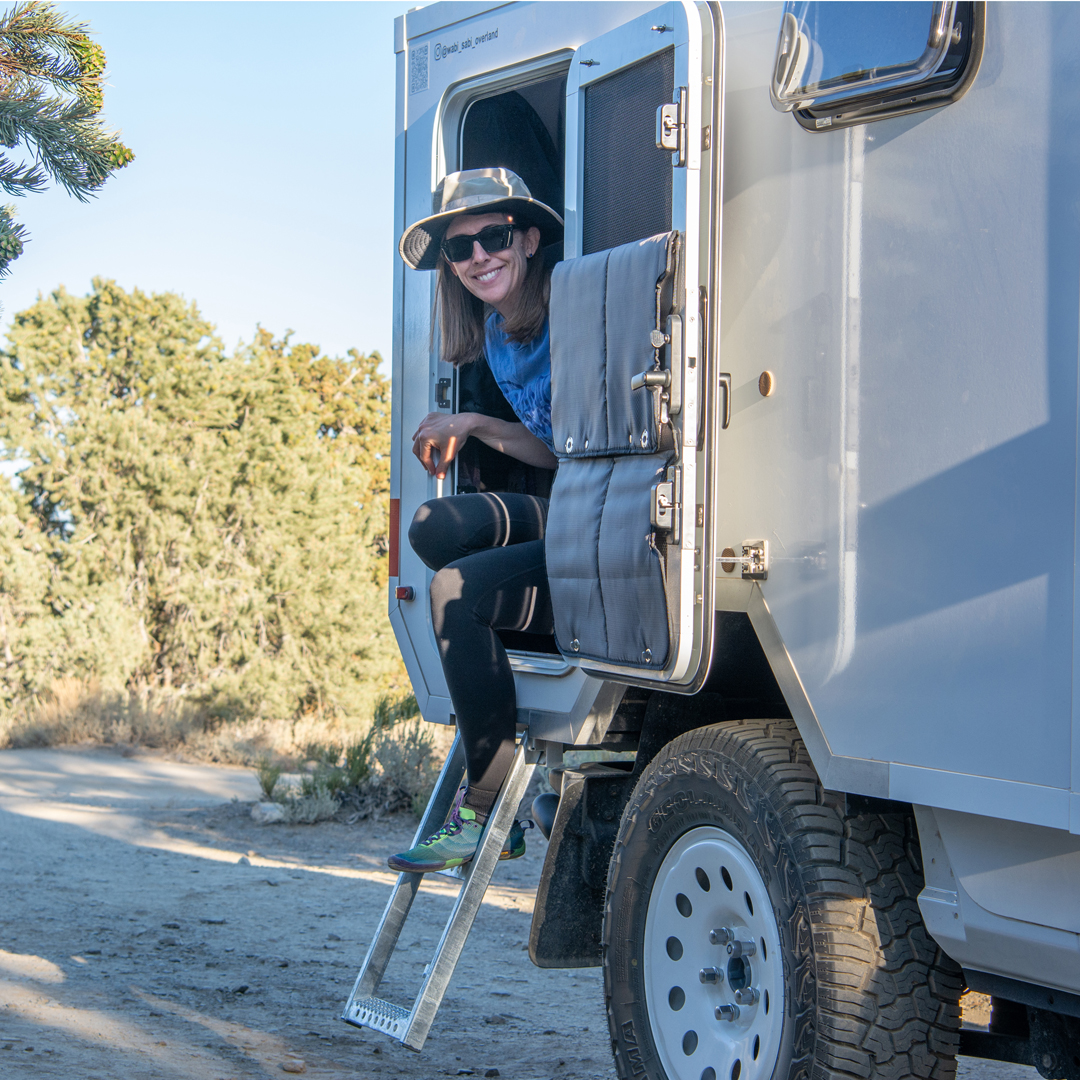
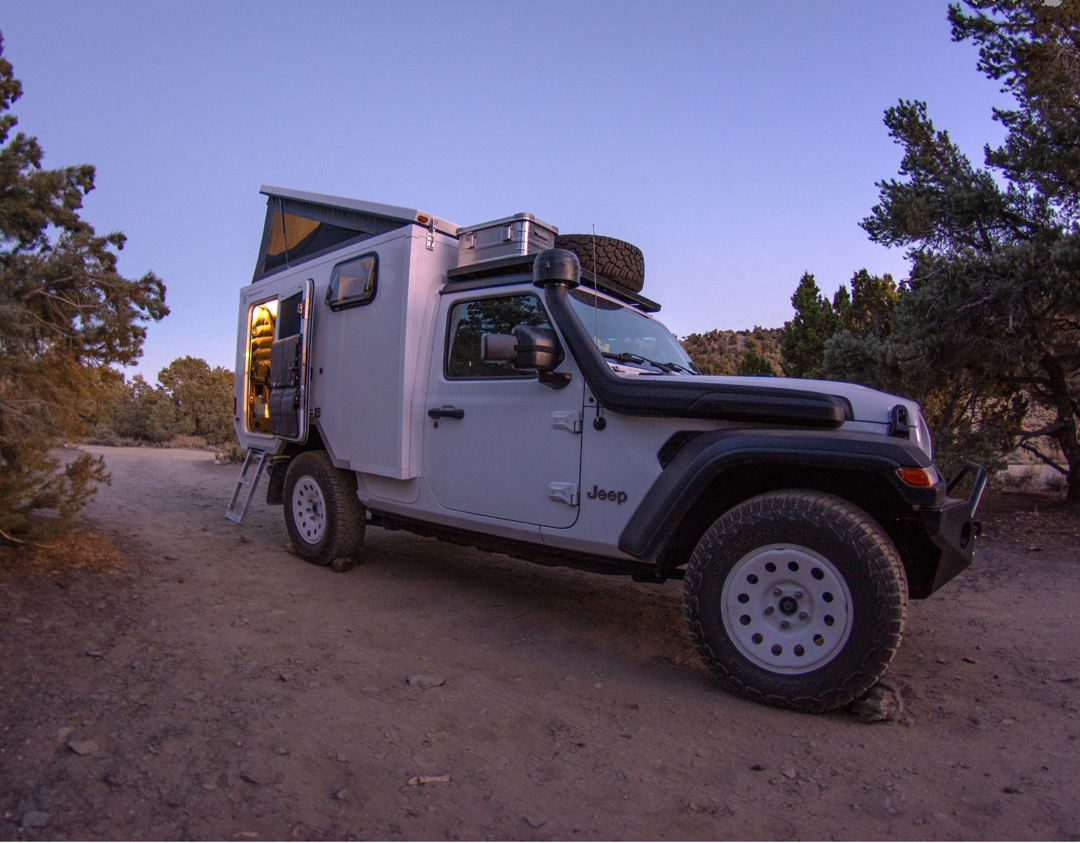
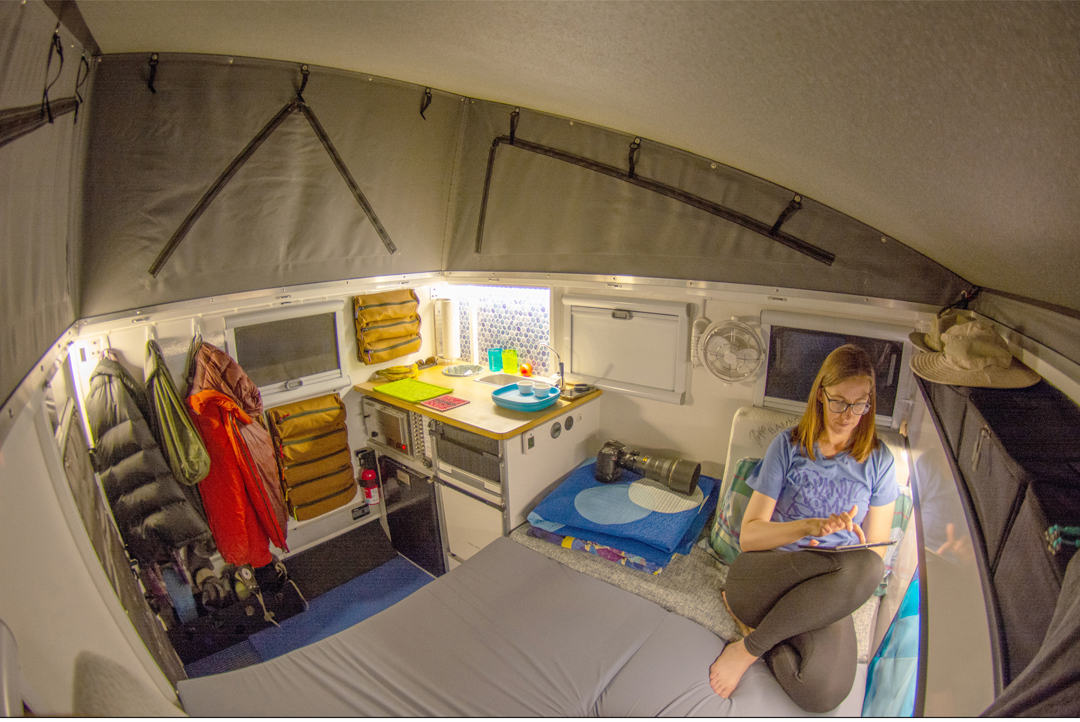
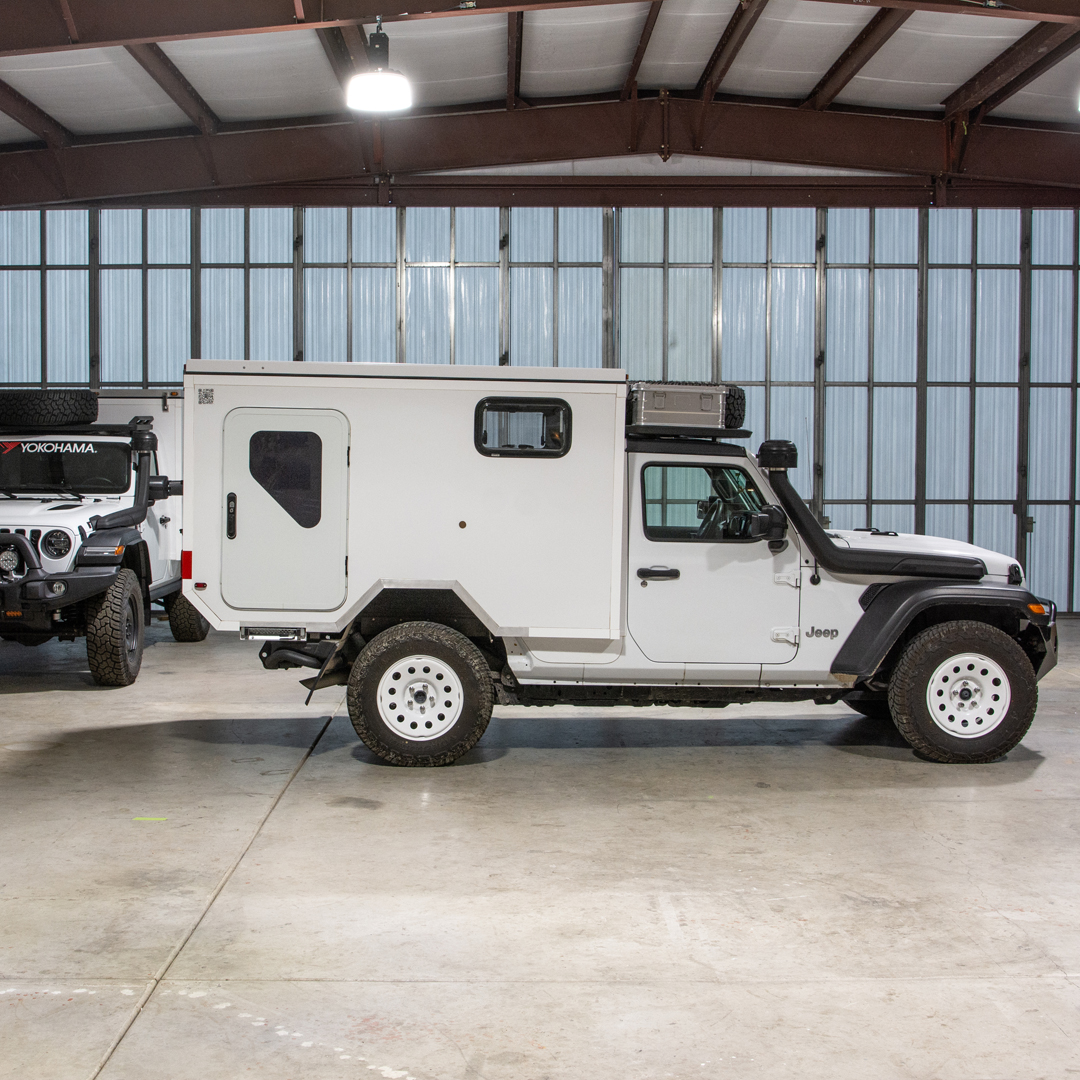
Like always, the camper is working awesome for us, but you all know I also really love building things. So… I’ve started to think about what things I might try out if/when I make another camper like this. This vehicle has been great, so I’d probably just experiment with a few small things. We love this size, so if I made another one, it would be about this same size and likely on a Jeep Wrangler again; it’s been a really good combination. Maybe I’d try one of the rear door layouts or maybe one with slanted sides like I considered for this camper originally. It’s fun to think about layout options again.